
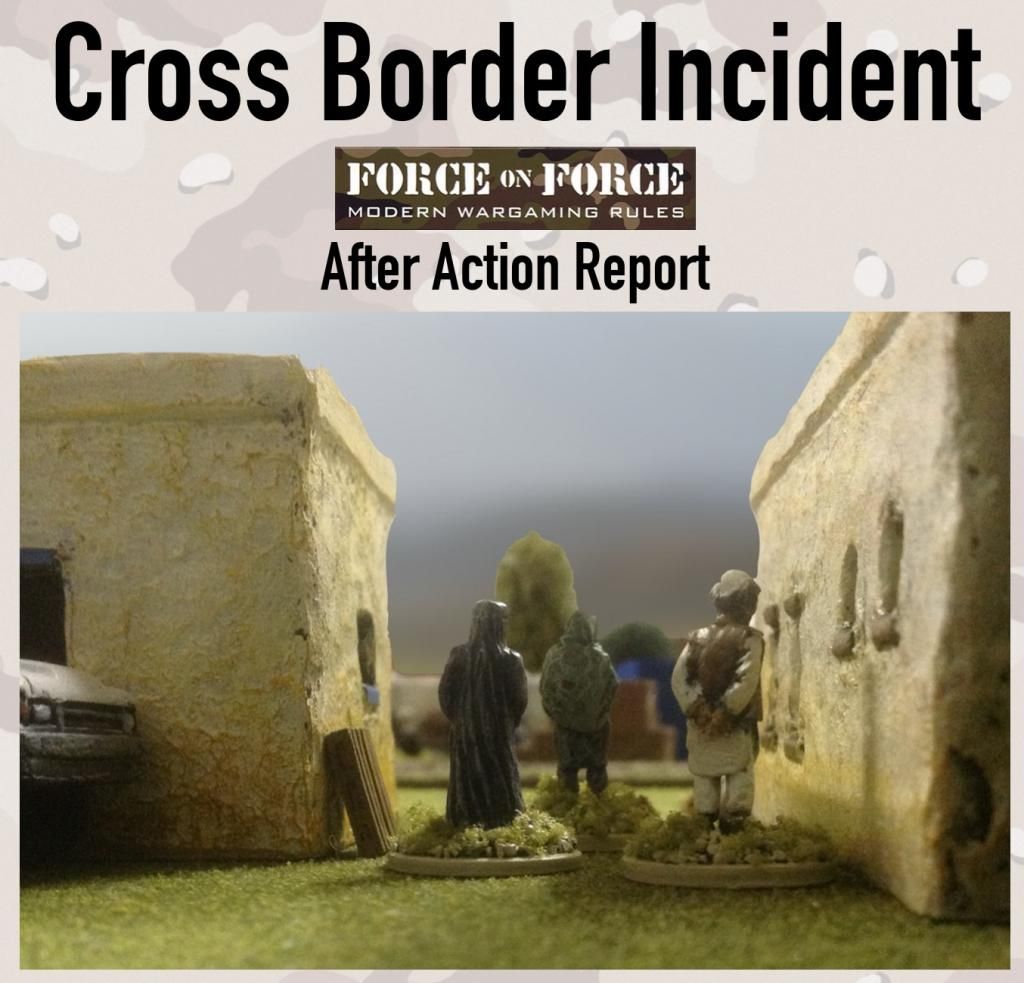
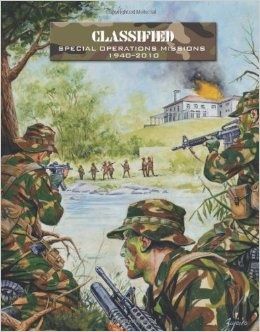
Thanks to quick delivery from Amazon, I got my hands on a few of the Force on Force companion books. The "Classified" companion got my attention thanks to my interest in Spec Ops. This book contains various scenarios, including historical, hypothetical and Hollywood inspired (including a Predator themed one we're keen to try in the future!).
So for a recent night at our local club, I picked out the Cross Border Incident scenario for Dead1 and I to have a bash at.
The scenario is based in a historical mission in Eastern Syria, 26 October 2008.
Joint Special Operations Command sends in Task Force 88 to retrieve Abu Ghadiya, an al Qaeda facilitator, dead or alive.
An eight man team is dropped in and supported by an aerial sniper team, CSAR team, 4 Blackhawk and 2 AH-6J Little Bird helicopters. The CSAR and an additional fire team aboard the Blackhawks could only disembarked if Task Force 88 sustained a serious injury or a chopper was downed.
The potential issue was that all the operators are rated D12/D12, compared to the al Qaeda's D8/D10. Also there is the aerial support and a Predator drone cancelling Out of Contact Movement. But the al Qaeda did have a few nasty Suicide Bomb Vests.
I took control of Task Force 88 whilst Dead1 would try to keep Abu Ghadiya out if trouble.
INFILTRATION
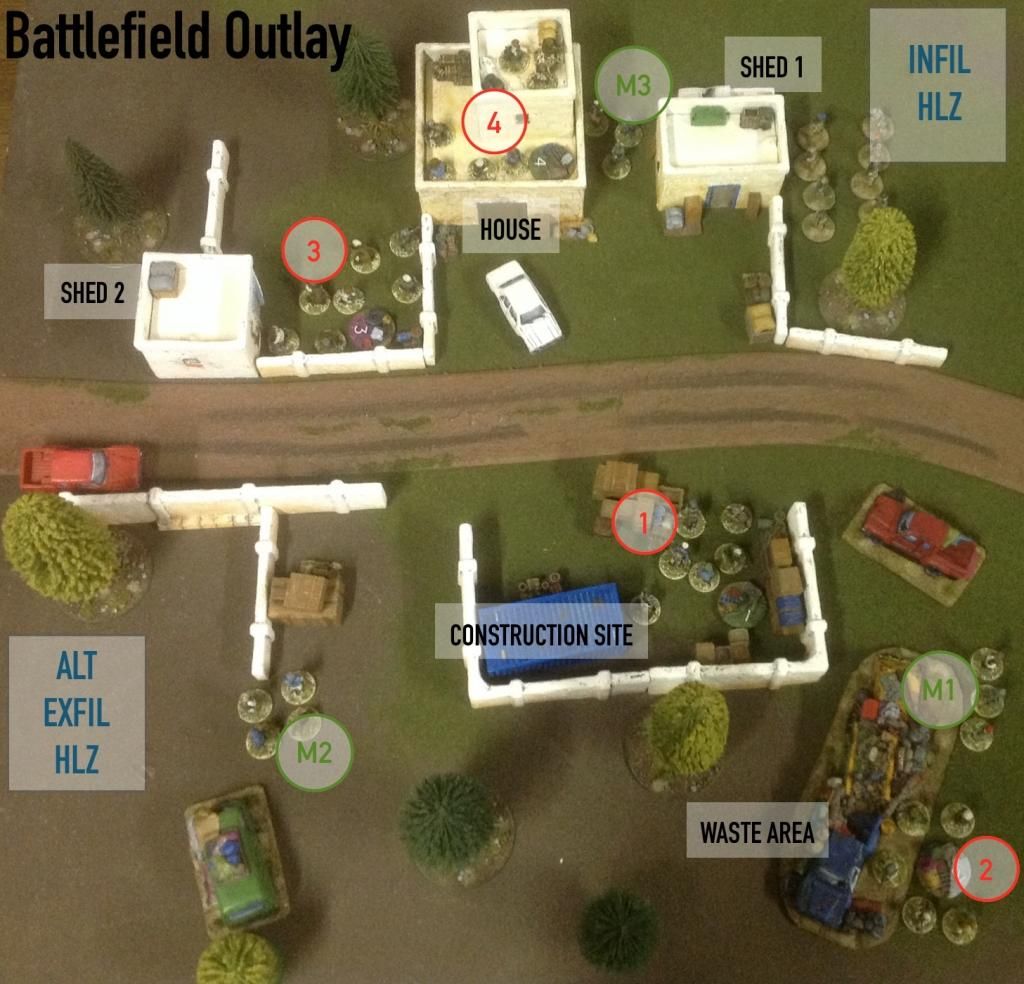
Below you will find the Scenario Map, which has been rotated to correlate with the Battlefield Outlay.
The two fire teams must capture the HVT (or kill and retrieve the body), and then extract using the two possible Helicopter Landing Zones by end of Turn 6.
Task Force 88 retain the initiative through the entire game.

 |
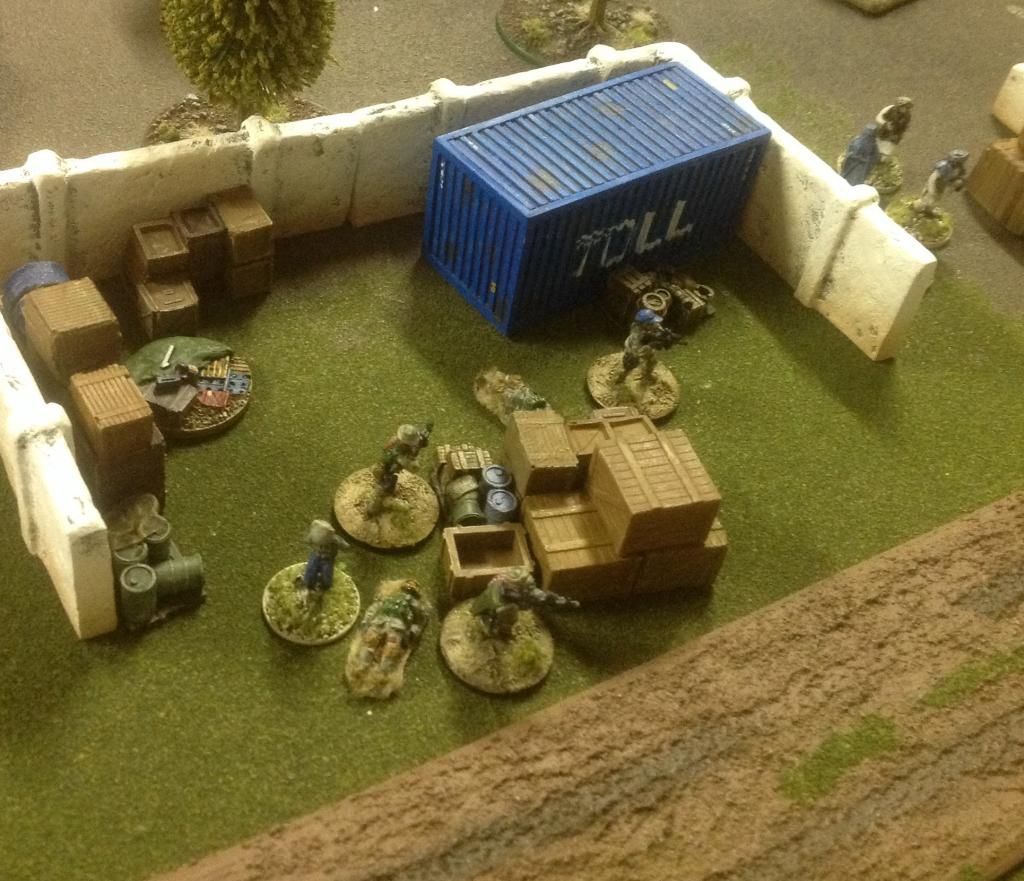
| Abu Ghadiya and his al Qaeda cell by the Construction Yard |
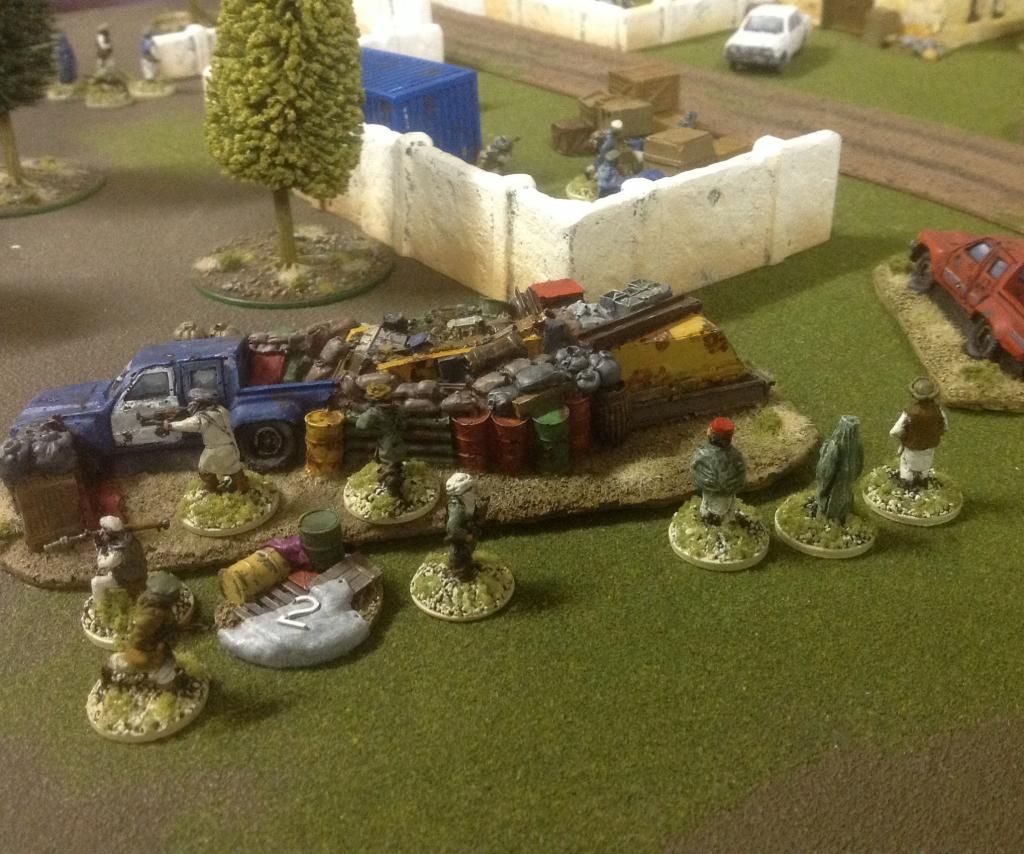 |
| Terrorists and civilians by the Waste Area |
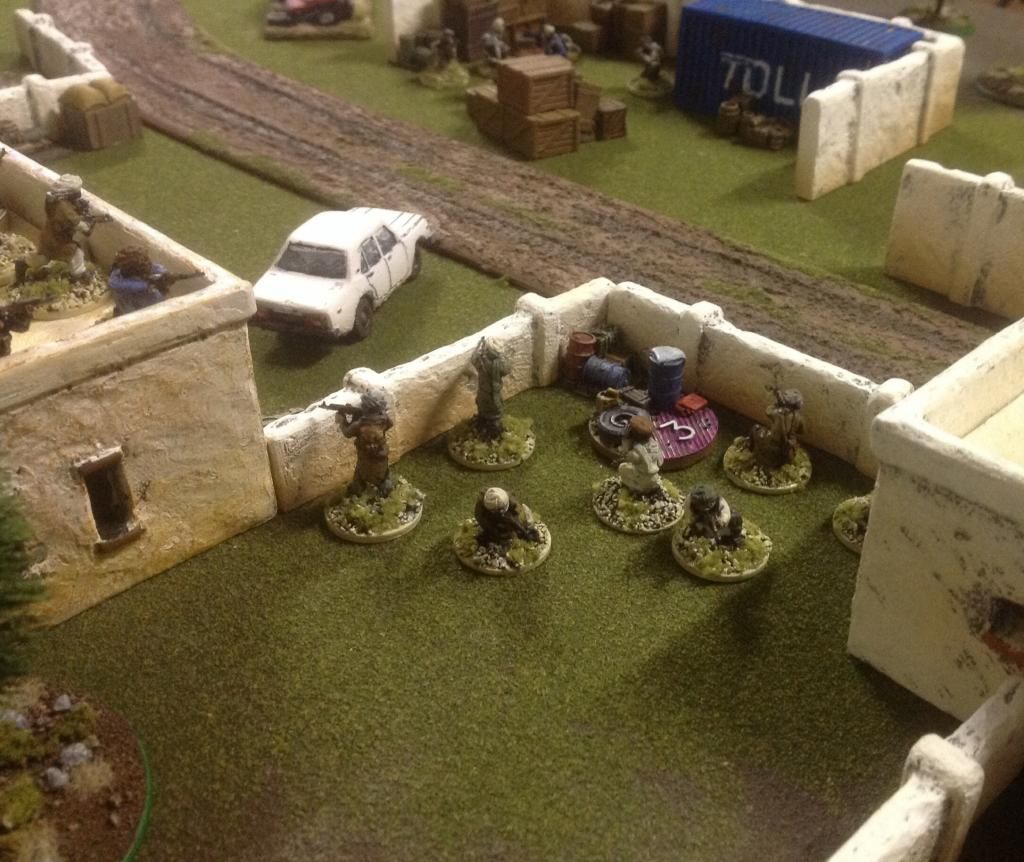 |
| Terrorist guarding Shed 2 |
 |
| Civilians by the house investigate what is happening |
 |
| More civilians converge around the area |
 |
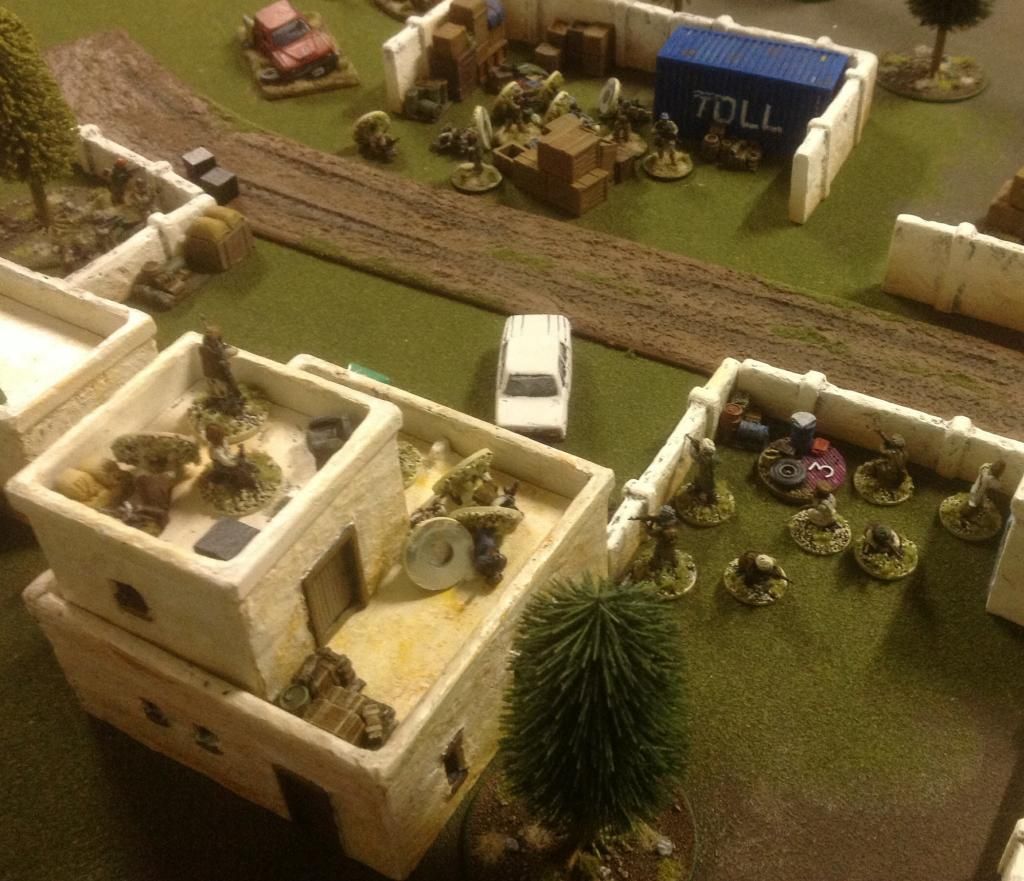
| Force Elements Alpha and Bravo are in position |
TURN 1 - LIGHTNING STRIKES
For aerial support, we wanted to see what the Minigun strafe could do, which would hit all al Qaeda cells bar the ones in the House. Unfortunately the JTAC aboard the Blackhawk failed to call it in, rolling a natural "1"!
Force Element Bravo, led by Bull, engaged Cell 1 by the Construction Yard. All tangos were down, including the HVT. The nearby bad guys decided not to cover their asset and kept quiet for the moment.
Ginger, who led Force Element Alpha, ordered an assault to kill/capture the downed tangos in the Construction Yard. This time the other terrorist went to open fire.
Alpha reached their target first. Abu Ghadiya was found dead, killed by three shots to the chest. All the other terrorists in the cell were killed, except for one who was snatched and grabbed for intel.
Alpha then exchanged fire with the other cells. Their fast acting caused numerous casualties amongst the al Qaeda, especially where all the terrorists in the house were neutralised. A lucky shot however hit one of the operators in the throat. The man was KIA within moments, however Ginger opted negative for CSAR support - things were in control and further boots on ground would complicate things.
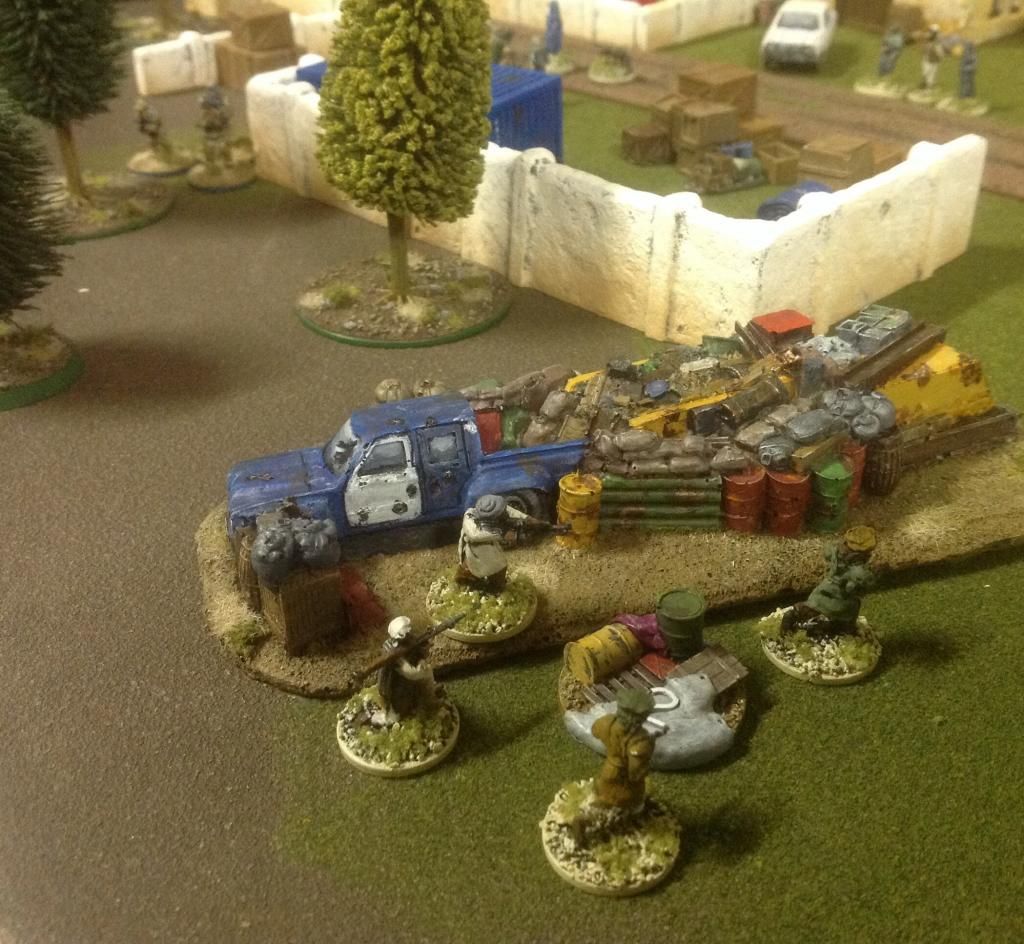
Cell 2 by the Waste Area tried their luck and their rounds from their AK47s zipped past Force Element Bravo. The operators replied with accurate fire, downing four of them. Somehow though three of the terrorist stood back on their feet.
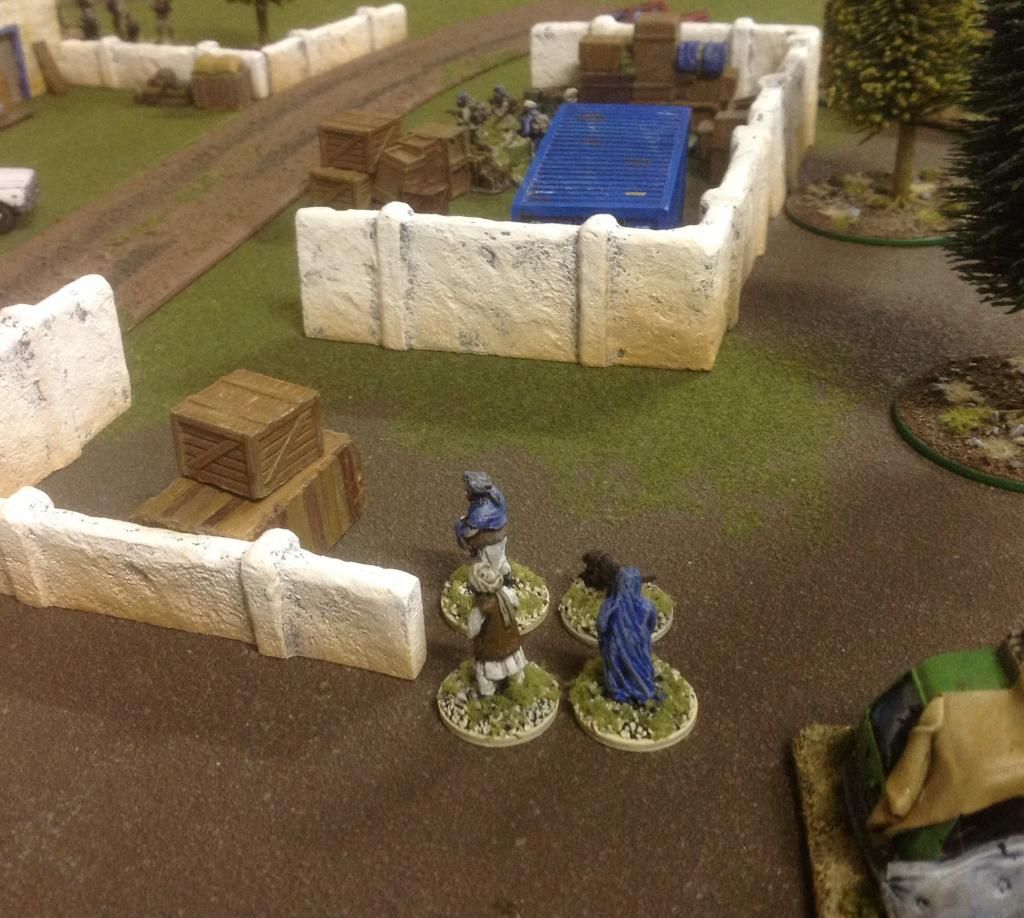
 |
| Alpha confirms the HVT kill |
 |
| Bravo positioned to cover Alpha's extraction |
 |
| The al Qaeda try to repel the invading infidels! |
 |
| Alpha takes heavy return fire. |
TURN 2 & 3 - CLEARANCE
The snipers in the Little Bird hovered above the battlefield and their precision fire took out a couple of terrorists by the first shed.
The two teams on the ground rapidly moved towards the second Exfil HLZ, with Bravo taking cover by an old Lada and Alpha headed south of the Construction Yard. As they advanced the peppered the remnants by the first shed.
Without standing troops to provide first aid, Cells 3 and 4 were out for the count.
All that remained of nearby al Qaeda presence was four terrorists by the Waste Area.
At the start of Turn 3, Alpha rushed past Bravo and took the south east corner if the Construction Yard. Before the cell by the Waste Area could react they were dropped to the ground by accurate fire.
With no active al Qaeda remaining, the two teams extracted without further issue.
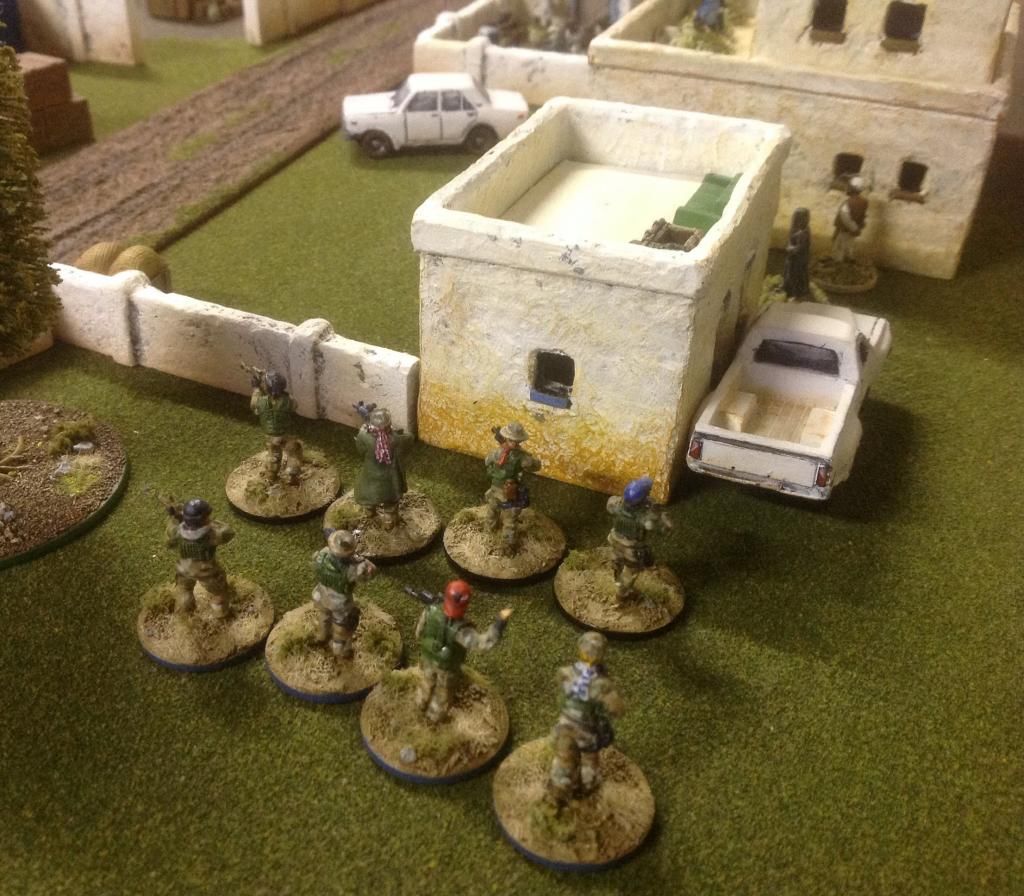
 |
| "This is Alpha-One, man dow. Man down!" |
 |
| Bravo rushes to the corner and prepares to engage the last of the al Qaeda |
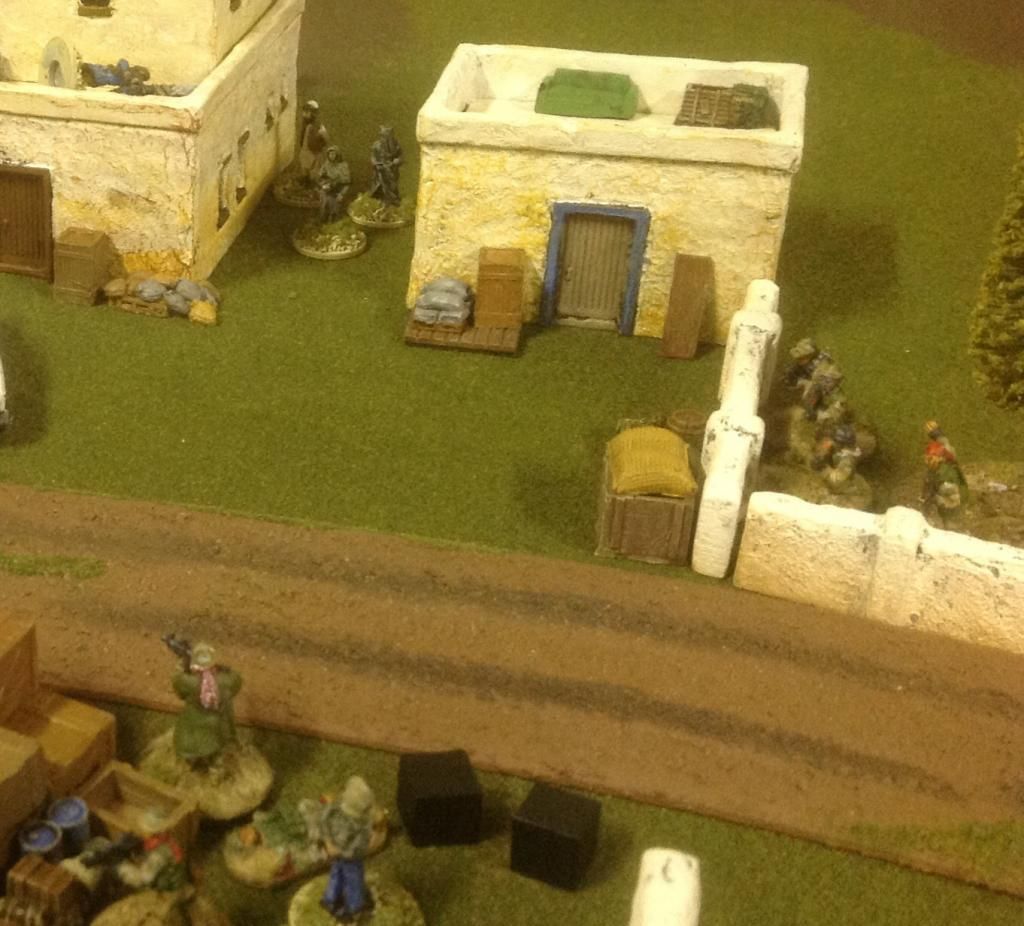
 |
| The last of the al Qaeda is eliminated. |
 |
| Mission completed, Task Force 88 head home. |
AND THEN?
...and that concluded the mission, in a whopping three turns! It played out historically, with a
confirmed kill of Abu Ghadiya, although the death of a Task Force 88 was not reported.
With a quick game, we had more than enough time to swap sides. Dead1 took a bit longer with Task Force 88 - it took him 5 turns to finish the mission as he didn't have my luck.
He didn't lose a single member however I managed to down a Little Bird with a lucky RPG, seriously injuring one of the snipers!
I tried with all my effort to engage the operators with the Suicide Vests but they either failed their morale or were gunned down before they could blow up. As I split them up early from their parent unit, they actually acted as a decent first aid!
The scenario plays historically but I want to see what happens with D10/D10 operators. Maybe also add an al Qaeda tactical that appears at a random turn!
UPDATE: just as I went to post this, the Beast's Lair also posted a BatRep on this very scenario! They played using Fog of War cards and it looks like this adds some balance (which we didn't, though our reaction tests were barren of any "1"s). They had the tactical rock up! You can read the BatRep here.
Thanks for reading! Appreciate your comments.
Cailus.
You blokes have been busy :D
ReplyDeleteSome great looking terrain, basing & figures.
We may have run the same scenario, but yours looks quite a bit better. I may try it with d10/d10 troops as well.
ReplyDeleteLove the terrain you use, very jealous. Where is the wrecked car/garbage piece from?
ReplyDeleteThanks Mike. Wrecked cars and garbage skips are from S&S Models. See their battlefield clutter section.
ReplyDeleteAbsolutely superb
ReplyDelete