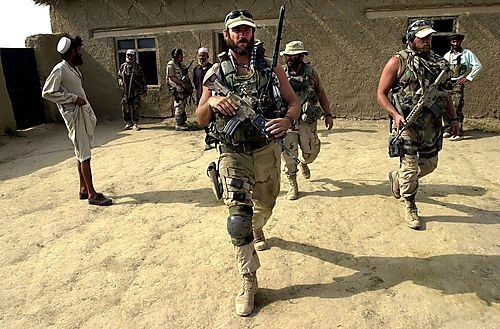
A few weeks ago Dead1 and I tried out first scenario from Enduring Freedom - the Battle for the Arghendab Bridge. ODA 574 and some Eastern Alliance fighters were tasked with defending a bridge against growing Taliban forces for 6 turns.
Saying that things didn't go well for my Special Forces is somewhat of an understatement - you can read all about the action here.
After realising we didn't play a few couple scenario rules correctly (specifically Out of Contact Movement for the Taliban and forgot about hiding) we organised a rematch.
A SMARTER DEFENCE - THOUGHTS BY CAILUS
What hurt last time was that the Taliban concentrated their forces to my left flank and the weight of fire bought the destruction of ODA574 Alpha team and their Eastern Alliance (EA) friends within the first two Turns. In all honesty I didn't utilise the team's firepower as I was afraid to lose them to a potential assault but this was a mistake.
Bravo team by the bridge didn't utilise their air support properly and the bad luck in die rolls didn't help in the slightest.
I need to hold the building by the bridge, call in an air strike off-board and have no Taliban past the dry river's southern bank (technically north) - this would net me a total of 15 points. So what do I do this time, knowing what the terrain will be like and some rule clarifications?
The EA are the worst stats you will see in Force on Force with a Troop Quality/Morale at D6/D8 with Low Confidence - I can't expect them to do much as they can only Return fire once a turn (being irregulars). If they get shot at they could quite easily get pinned before they do anything. As each killed EA grant the Taliban a point each so I can' the endlessly send them off to die.
Meanwhile the ODA are rated D10/D10 but there aren't many of them.
I am not going to worry about holding the Taliban by the river and I can't see how it is possible - I don't have line of sight on it on the left flank and I can't risk pushing teams forward, especially when I don't have the guarantee of initiative and good fields of fire for overwatch.
The Taliban have the Initiative on first turn so I will be able to see whether dead1 uses similar tactics as last time - that being the bulk of Taliban fighters advancing along the covered right flank. This will once again split firepower and put pressure in Alpha but I will try to avoid this from happening. Alpha's sniper will split off and venture further to the left (and thus away from the bridge), supported by an EA team. Either the Taliban will try to engage them and (and thus such cells will have less opportunity to attack the right flank), or the sniper harasses the cells with a degree of impunity and take out important assets such as leaders (with D12 morale), RPG's and machine guns.
Meanwhile the two man Alpha team will try to play a game of cat and mouse - reacting first to return fire and then hopefully moving away out of fire if one of the larger cells sets their sights on them (Cell 5 is a worry with 9 firepower). Use of smoke grenades may improve survivability at the cost of fire effectiveness that's okay.
Meanwhile the JTAC from Bravo will split off and concentrate on providing air support. Meanwhile the remaining Bravo members, the second EA and PKM team hold the building by the bridge by all costs.
If things go particularly well, I could try to push back the Taliban away from the dry river in the last few turns but I doubt this will happen.
However if dead1 rushes the bridge directly, then my guys on the left can move to assist and it will all be a great clusterf$k!
 |
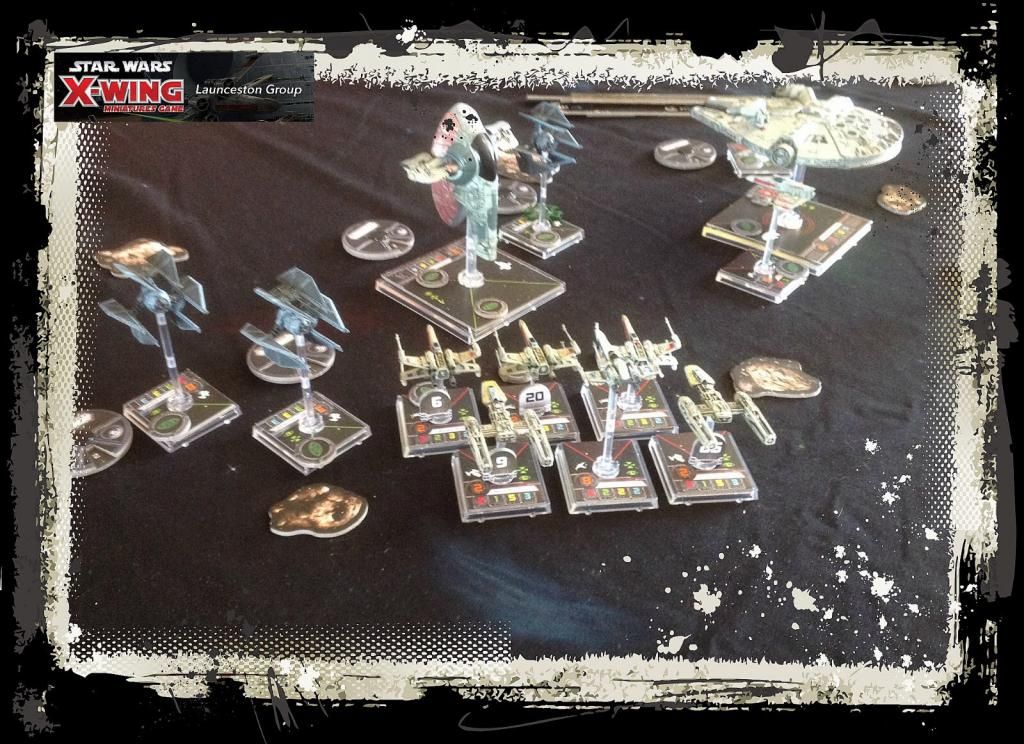
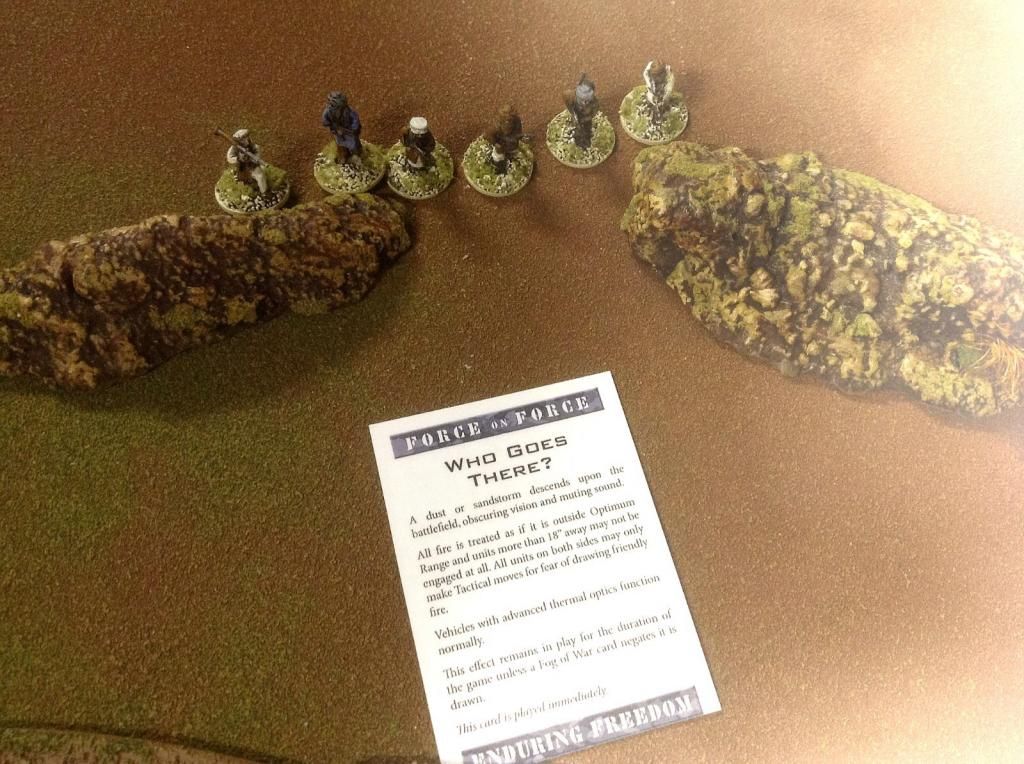
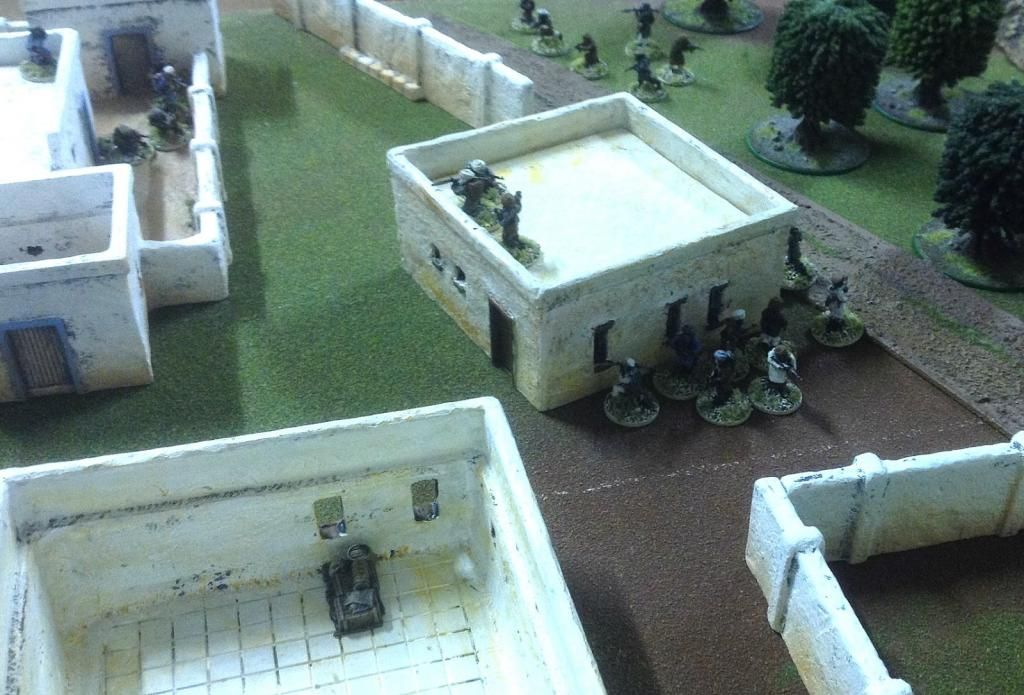
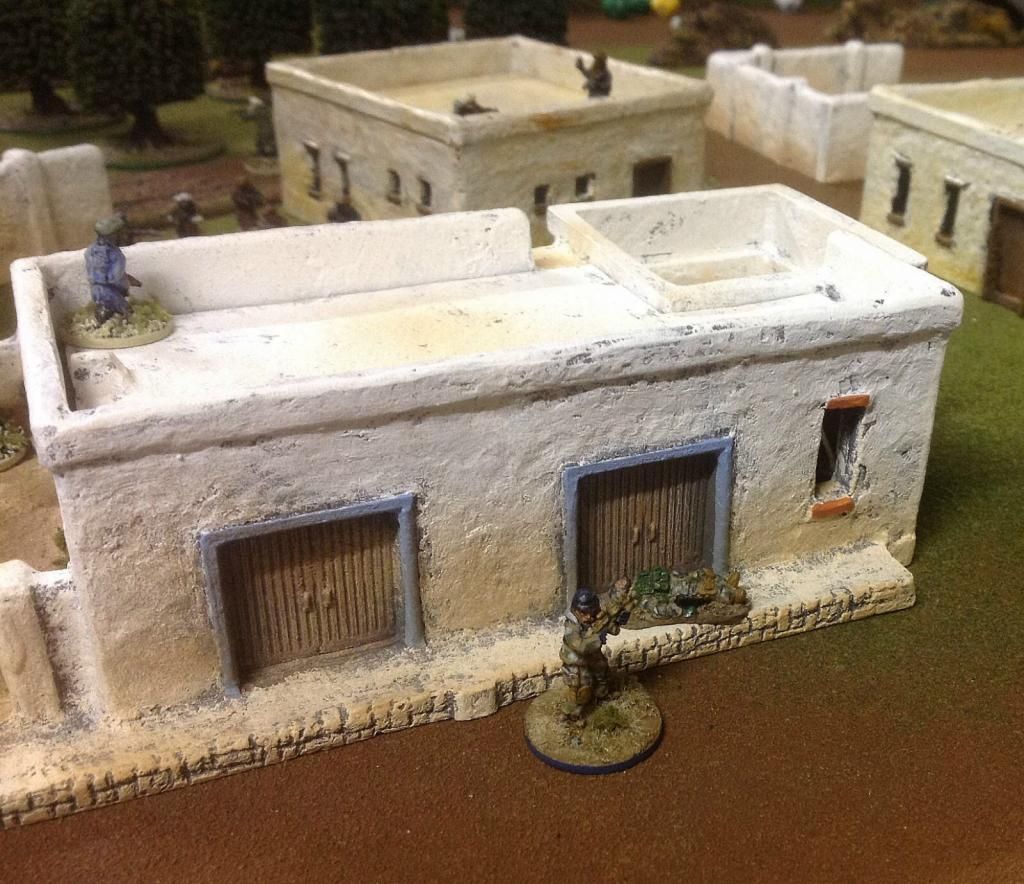
| Team Alpha and their EA friends at the rest. |
 |
| Team Alpha supported by Eastern Alliance, including the PKM team |
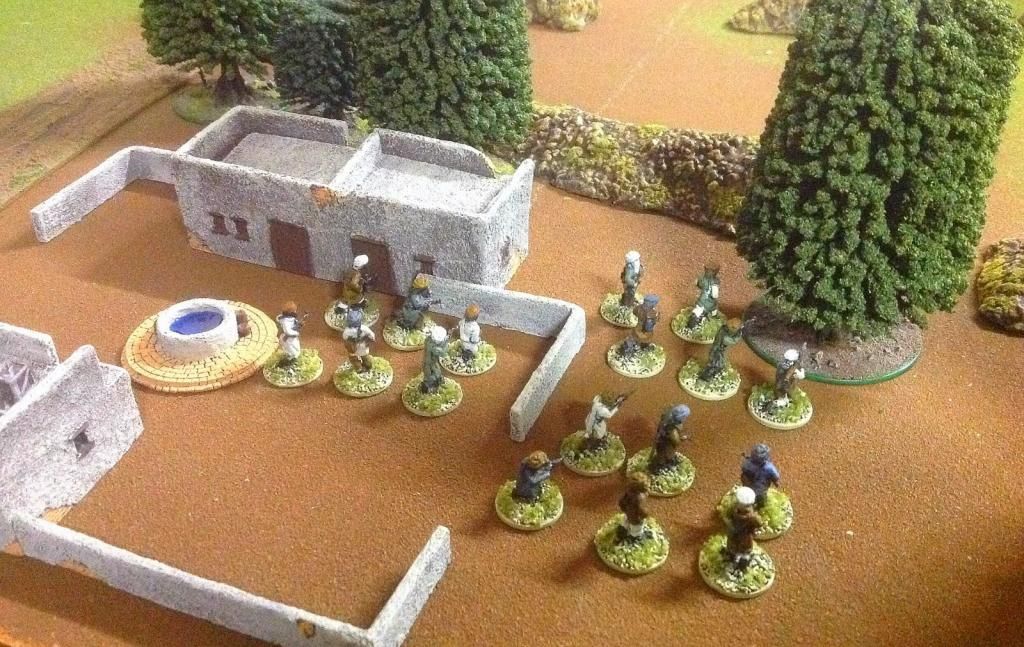 |
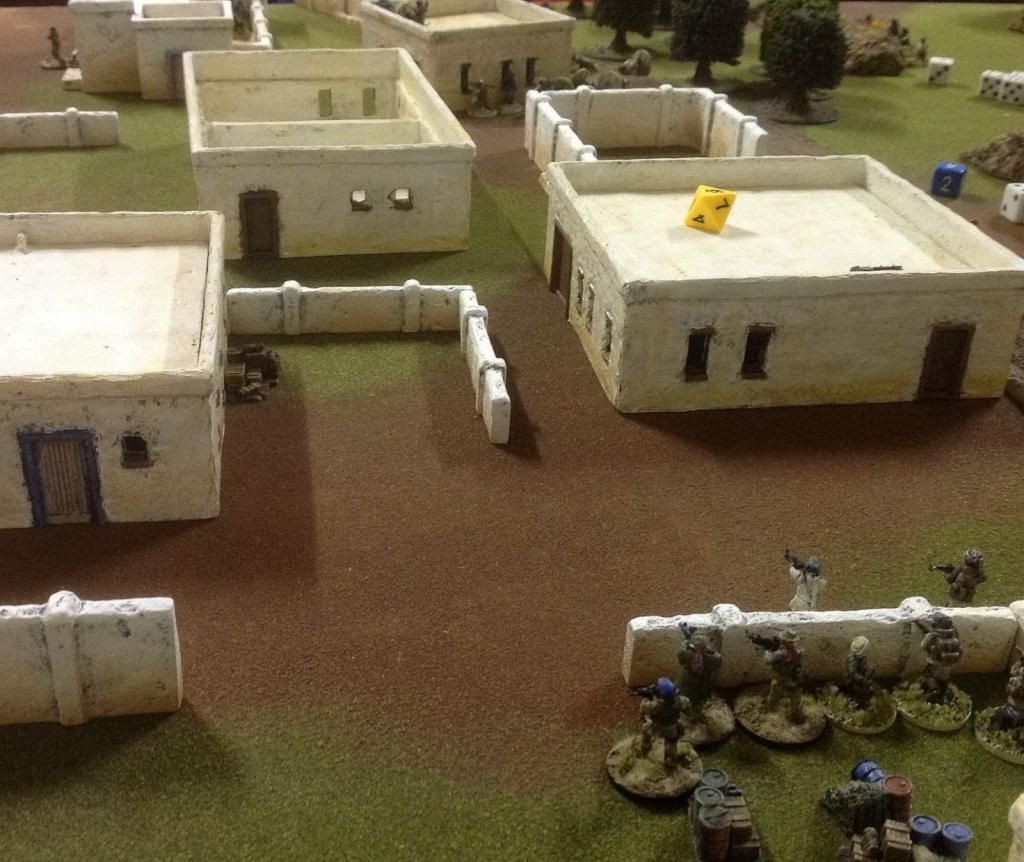
| Al Qaeda cells on the right flank prepare to assault the village |
TURN 1
Cailus: So the terrain set up is slightly different. The left flank has more buildings making firezones a bit more controllable but based on the enemy deployment, Alpha looks like it could get its hands very dirty! I will stick to the plan however.
Cailus: So the terrain set up is slightly different. The left flank has more buildings making firezones a bit more controllable but based on the enemy deployment, Alpha looks like it could get its hands very dirty! I will stick to the plan however.
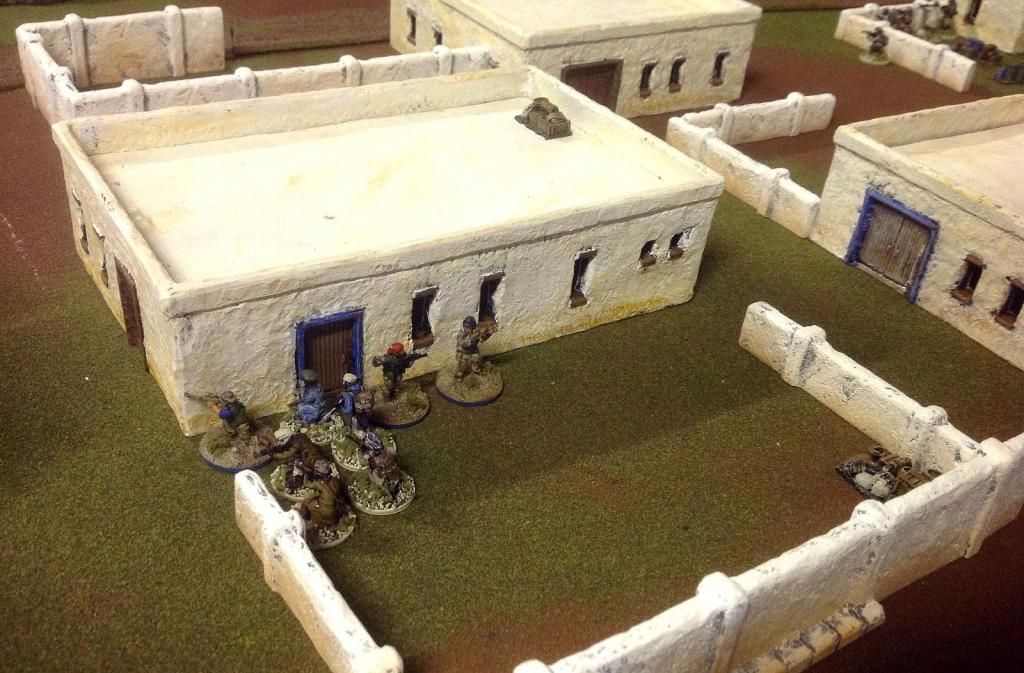
The al Qaeda reached the dry river bed and picked out their target - the Eastern Alliance PKM team on the Objective Building (OB). Bravo provided return fire and caused some significant casualties amongst the al Qaeda troops but the two man PKM team was by now sprawled on the ground.
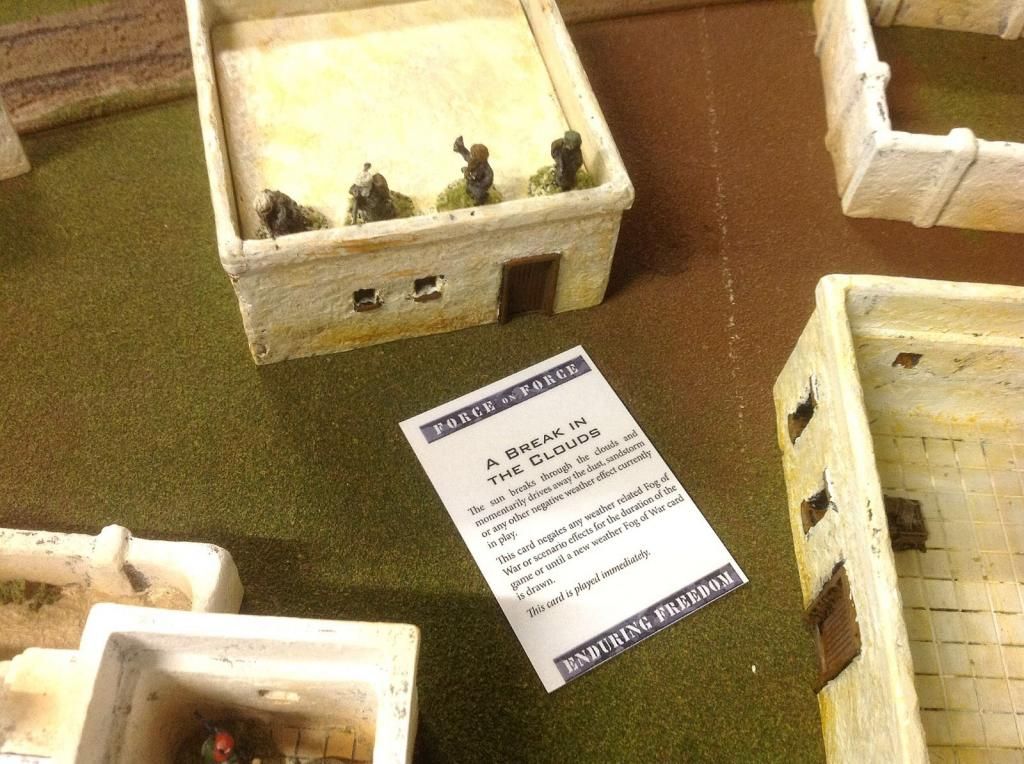
Thanks to Fog of War effects, Alpha was considered to be "Caught Napping", however without tangos in sight that did not really affect them.
Having woken up to the fact they were under attack, the sniper (Bravo-Three, code name "Sides") split off and lead the Eastern Alliance team towards the far left.
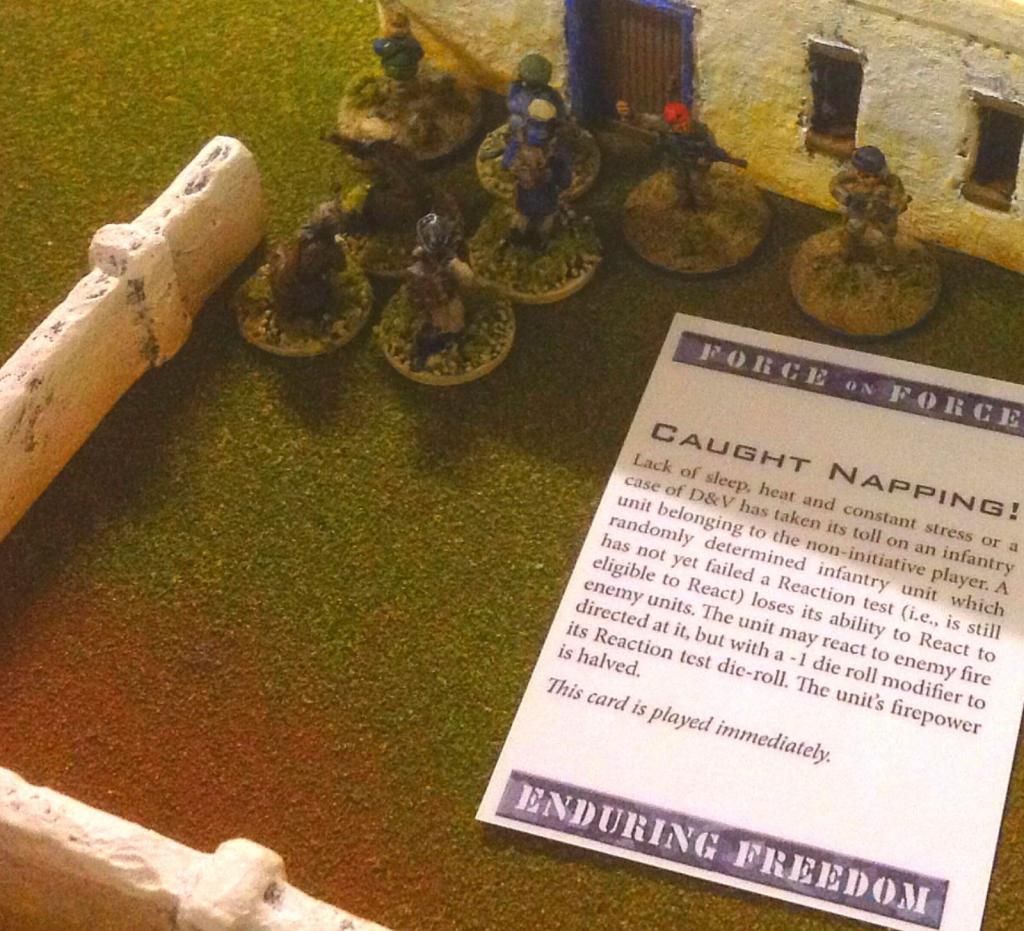 |
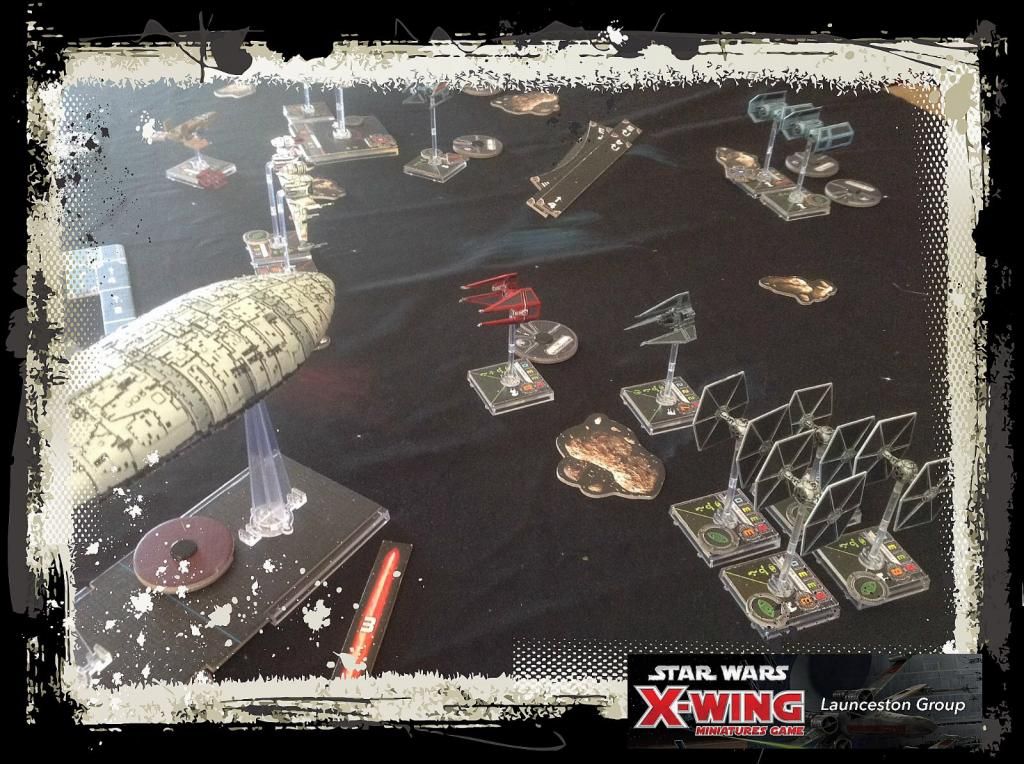
| Team Alpha are momentarily caught off guard. |
 |
| The al Qaeda attack begins! |
TURN 2
Al Qaeda retained initiative. Only a couple of their injured realised they were not dead or seriously wounded but one of the cells had a single man left. Some minor reinforcement also arrived on the left flank. Both of the Eastern Alliance PKM team dusted themselves off and rejoined the fight, deeming the injuries to be just a "flesh wound".
The al Qaeda continued their advance across the dry river bed. All the cells that had line of sight opened fire on the PKM team with worse results than the turn before. Some of the cells were pinned by Bravo and their Eastern Alliance, limiting the amount of lead being thrown at the PKM team.
Sides and his band of EA took positions around the far left building. Tall walls proved an obstructed in sight, forcing any future al Qaeda attempts to engage them to be funnelled. Other members of Alpha, situated in the centre of the village, took cover in a nearby building, waiting to see where they would be needed in the coming turns.
 |
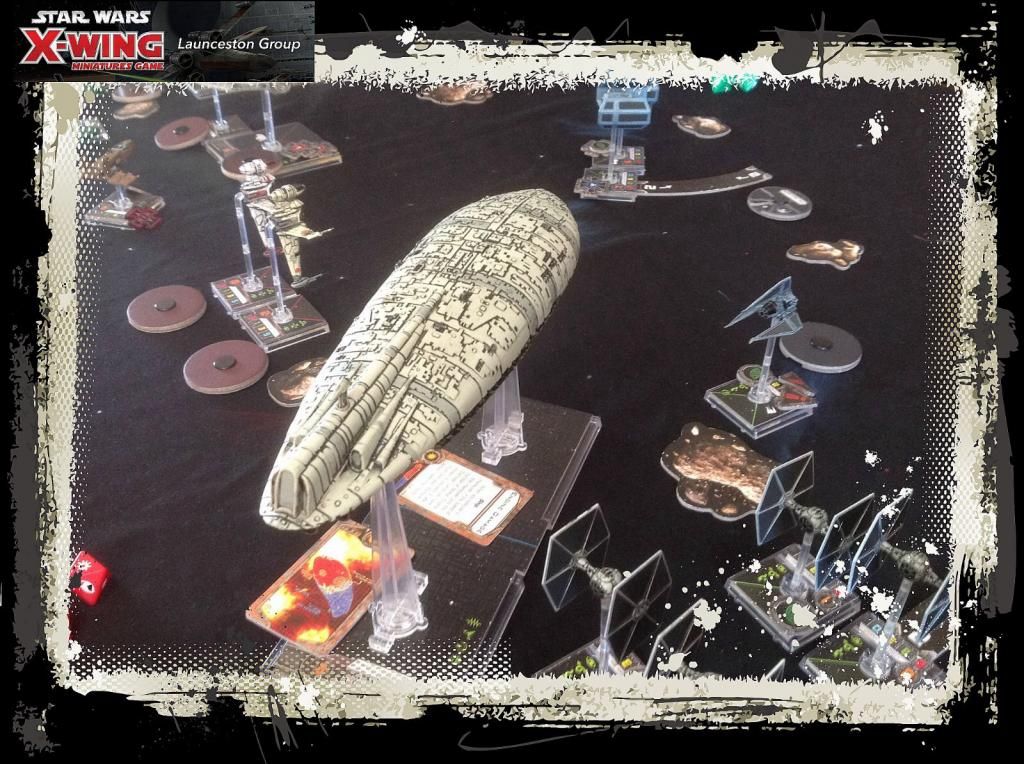
| Bravo and the EA PKM engages the enemy |
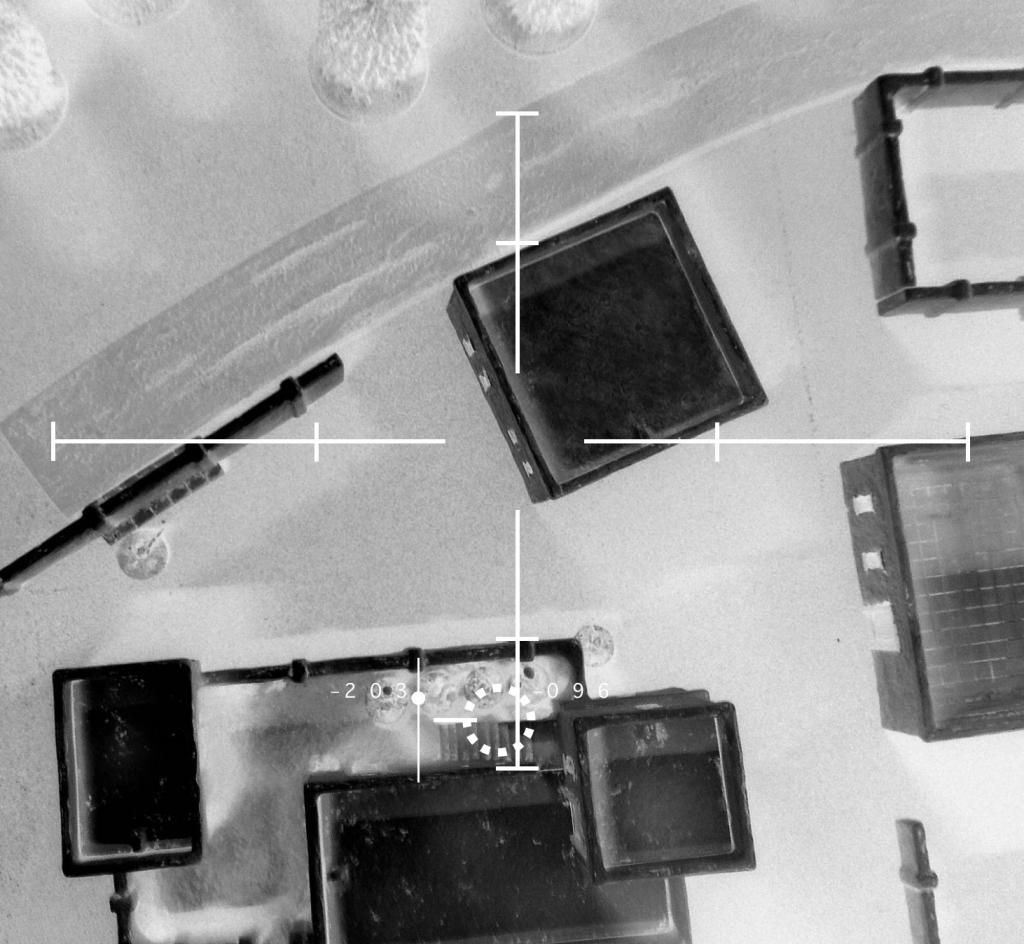 |
| AC-130 "Big Brother" confirms position of Bravo-Three "Sides" |
TURN 3
Al Qaeda still retained initiative but it would have been in their interest to lose it as it would allow much quicker movement. A single al Qaeda reinforcement arrived on the right flank!
The bulk of cells reached the lip of the dry river and yet again engaged the PKM team. Although supported by Bravo and the other EA by the OB in the resulting firefight, both members the PKM team received hits.
The JTAC (Alpha-Four) used his SOFLAM and coordinated a support from a AC-130 gunship kilometres away, where al Qaeda troops were deemed to be amassing.
Sides took cover by the large building beside his EA friends and prepared to engage.
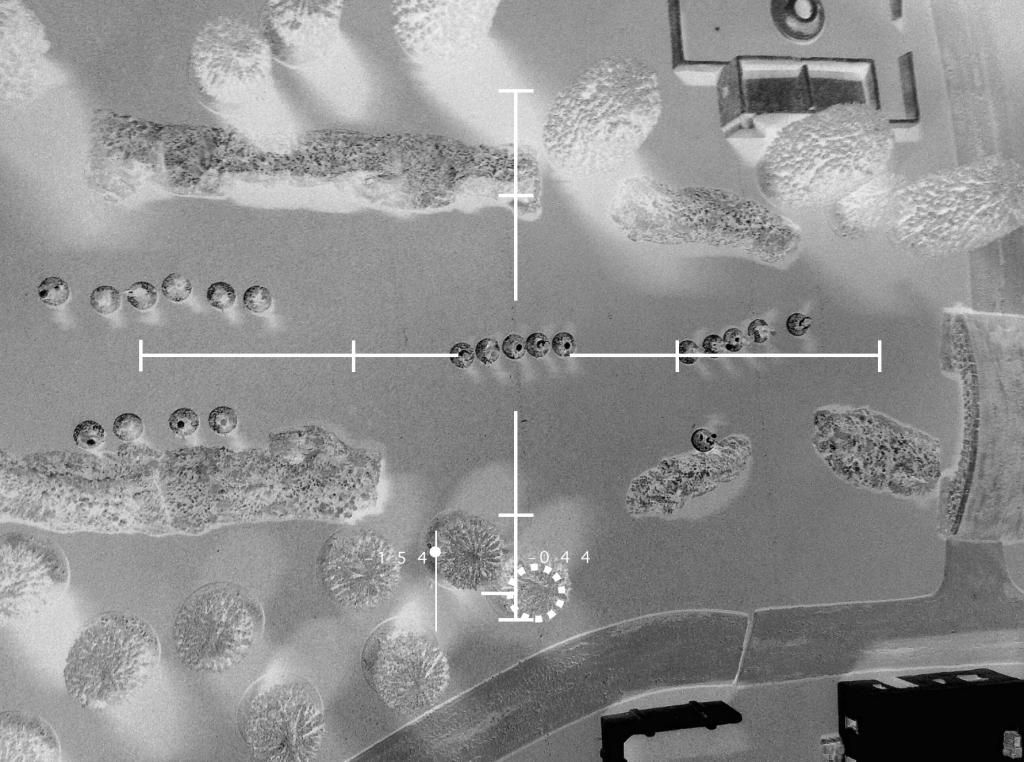 |
| "Big Brother" observes enemy forces approach the village. |
TURN 4
Both PKM gunners stood up again, bloodied but determined! They were glad to see The AC-130 in the sky, opened fire on the secondary objective. They hit their targets but reports indicated it was not fully successful - most likely due to the sandstorm. Still, it counted to give the U.S. Player 5 Victory Points!
Al Qaeda again retained initiative and half a dozen reinforcements arrived in the left flank. Determined to destroy the PKM team, a Cell engages them. Bravo react to assist but suddenly a sandstorm blows in from nowhere! The Cell lost sight of the PKM team. The sandstorm would reduce visibility and prohibit aggressive movement. Other cells engaged the EA band by the OB and caused a casualty.
It was clear now that the Al Qaeda were trying to sweep the left flank and then head for the OB, meaning Alpha and their small band of EA were soon to be swamped.
The JTAC twiddled his thumbs, unable to see any potential targets due to the sandstorm whilst the other members jumped down from the OB and huddled up by the Eastern Alliance.
Thoughts by Cailus: The sandstorm nullified Bravo's ability to engage the enemy, including sir support! However now al Qaeda could not rapid move which basically reduced their chances to get to the OB, unless they started receiving better reinforcements on the right flank, which just wasn't happening. I just hoped Alpha could weather the storm of bullets about to hit them.
 |
| An Eastern Alliance fighter is hit and killed. |
 |
| A sandstorm sweeps through the battlefield. |
 |
| "Big Brother" engages enemy reinforcements with its howitzer. |
TURN 5
The Eastern Alliance by the OB checked out their hit comrade and found that he was dead. Al Qaeda scored their first Victory Point!
Al Qaeda retained initiative, despite the extra Initiative Die provided by completing a secondary objective last turn. The previous turns bombing must have worked somewhat as only a handful of al Qaeda reinforcements arrived in the right flank, joining up with the lone fighter waiting around from before.
The sandstorm was still in effect and hampered movement by Al Qaeda.
Nevertheless one of the cells entered the building right in front of Alpha and their EA detail. Reactions were slow by the U.S. Forces and machine gun fire peppered Alpha, and team leader Bull was hit! Sides and the EA managed to return fire causing the offending Cell to be eliminated. Suddenly the sandstorm had passed and it was back to clear skies! Some local civilians decided to take a stroll for some unknown reason.
The remaining Cells prepared to assault next turn.
With visibility returned, the JTAC attempted to designate targets for sir support but his request was denied. The rest of Bravo swapped positions with the EA, providing enfilade positions to any al Qaeda deciding to assault Alpha.
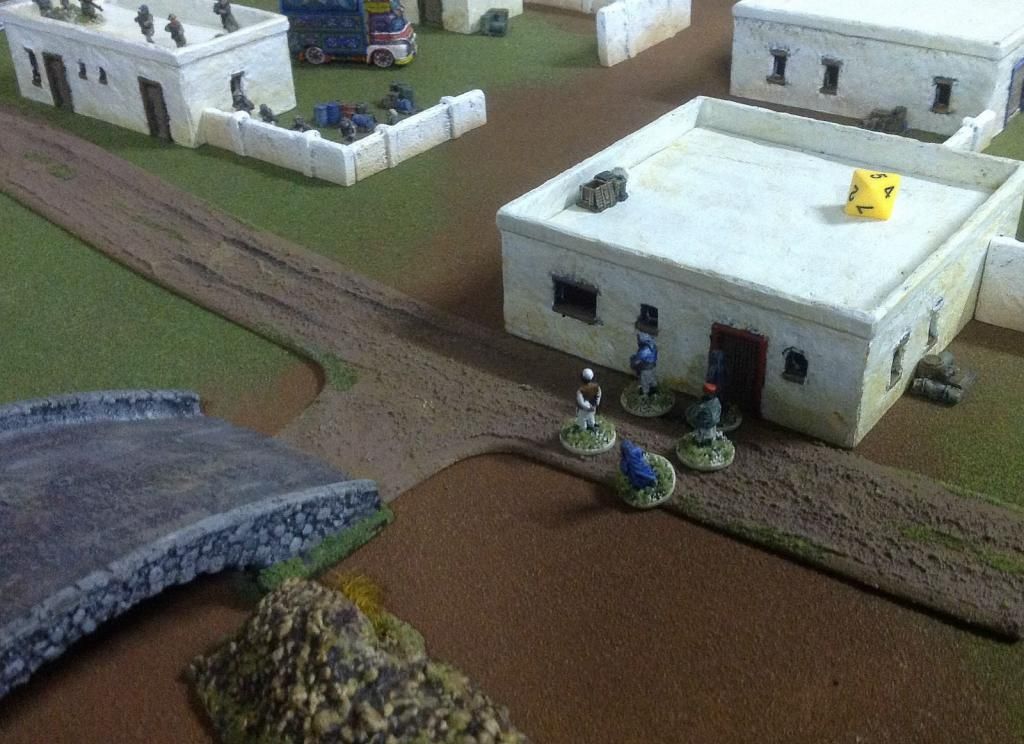 |
| Locals attempt to escape the besieged village. |
 |
| The sandstorm is brief but hampers the al Qaeda's assault. |
 |
| Alpha takes heavy fire. Team leader Bull is hit! |
TURN 6
The Operator in Alpha checked on Bull - he was seriously wounded, giving al Qaeda 3 Victory Points. Some more reinforcements arrived on the left flank but were too far away to assist.
This was the final turn and al Qaeda retained initiative. The remaining three cells on the left flank would try to eliminate the operator alongside Bull, but the man was faster and dragged Bull and himself to the back of the building and out of immediate harm.
Sides, Bravo and the EA engaged and caused heavy casualties to the al Qaeda and pinned most of them without taking any further casualties in return .
The small band of reinforcements on the right flank engaged the PKM team. The PKM fired first and pinned the cell.
With heavy casualties and struggling to get through the defence of the U.S. and EA forces, the surviving al Qaeda retreated.
 |
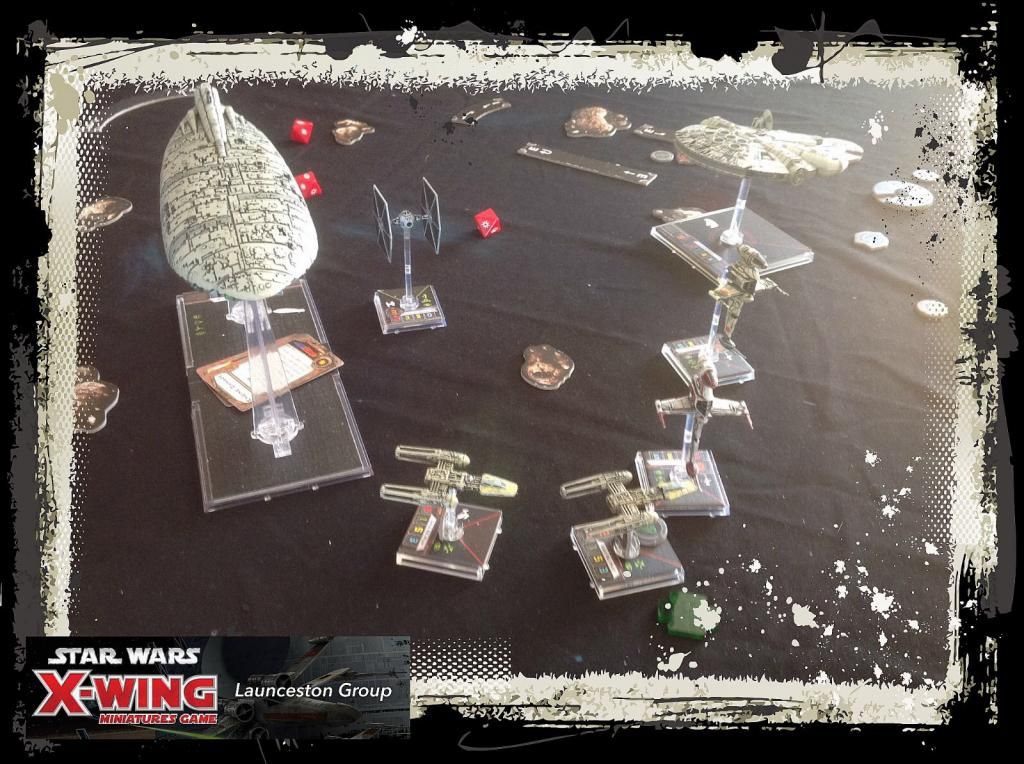
| Bravo assists Alpha in repelling the final enemy assault. |
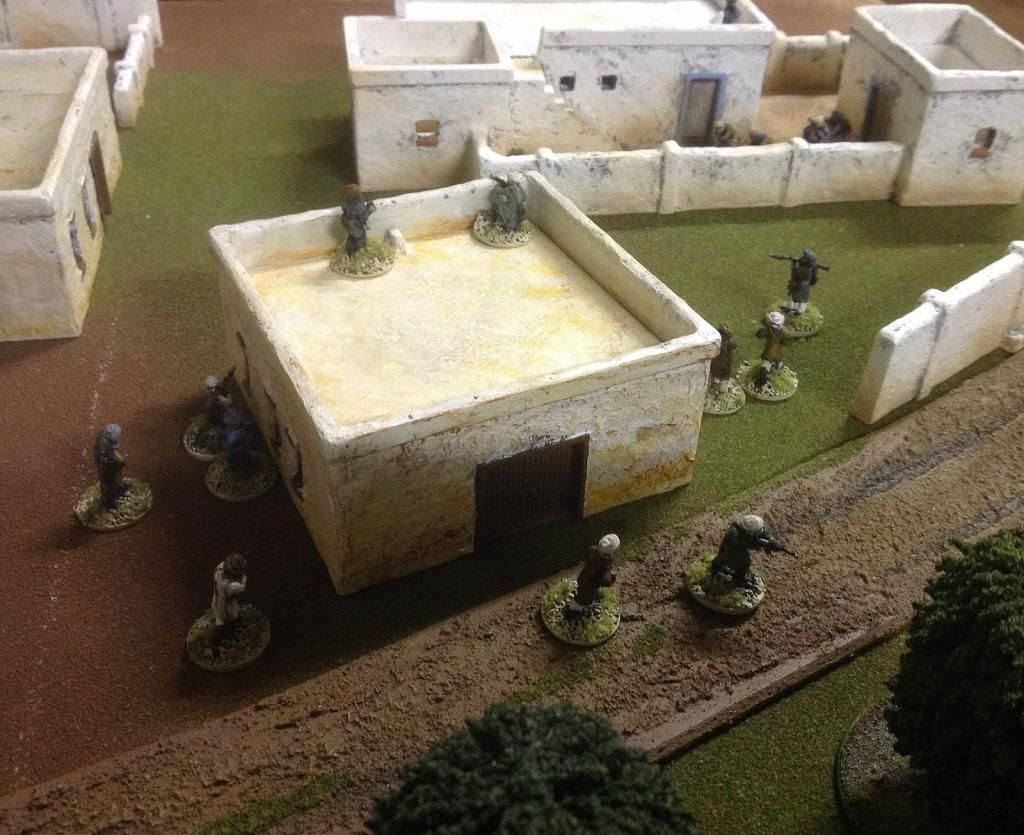 |
| Al Qaeda cells attempt to eliminate Alpha. |
 |
| Bravo-Three drags the Bull outside of danger. |
AFTER THE STORM
The U.S. had no operators KIA, secured and held the Objective Building and successfully called air support off board , thus scoring a total 15 Victory Points.
The al Qaeda had wounded an operator, killed one EA fighter and had forces past the North Bank, scoring a total of 9 victory points.
Victory to the U.S. and Eastern Alliance!
This was a very different game than our previous game, where every single operator and EA were killed. A few things helped out greatly - the sandstorm, the poor reinforcements by al Qaeda and that the PKM team just would not die! I did the right thing to take as many shots as I could and Bravo helped thin the ranks in the first two turns.
Alpha had secured their position well but Bull still got hit. I generally have awful luck rolling on the First Aid table when it comes to Operators and I was greatly relieved to see a Serious Injury rock up. Had Bull died my victory would have turned into a 10/11 defeat!
Surprisingly the EA performed well and accounted for a considerable amount of kills, whereas in our previous game they just died. This game they had only one killed, what luck!
Thanks to dead1 for the good game.
 |
| ODA574 secure the village. |