
So having painted a few U.S. Special Forces, Dead1 invited me to use them in the scenario from Force on Force's Enduring Freedom.
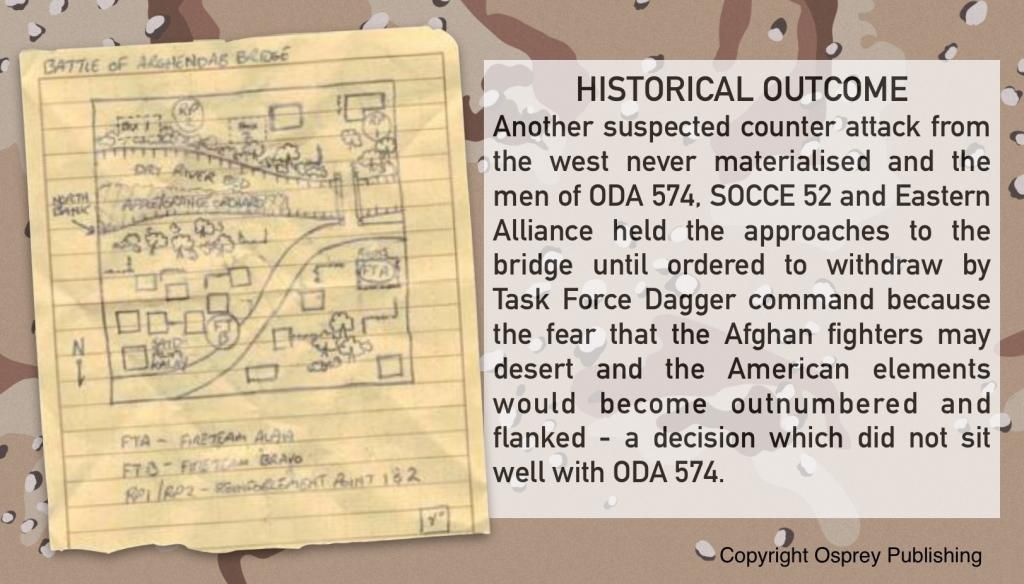
Scenario 1, "The Battle for the Arghendab Bridge", saw seven operators (ODA 574) supported by some Eastern Alliance guerrillas facing a considerable amount of Tier 1 Taliban fighters. They would need to defend the bridge on their right flank and attempt to keep the left flank near the dry river clear as well if possible, for 6 turns. Air support in the way of Strike Eagles, Predators and B-52 would be available, called in by one of the ODA JTACs.
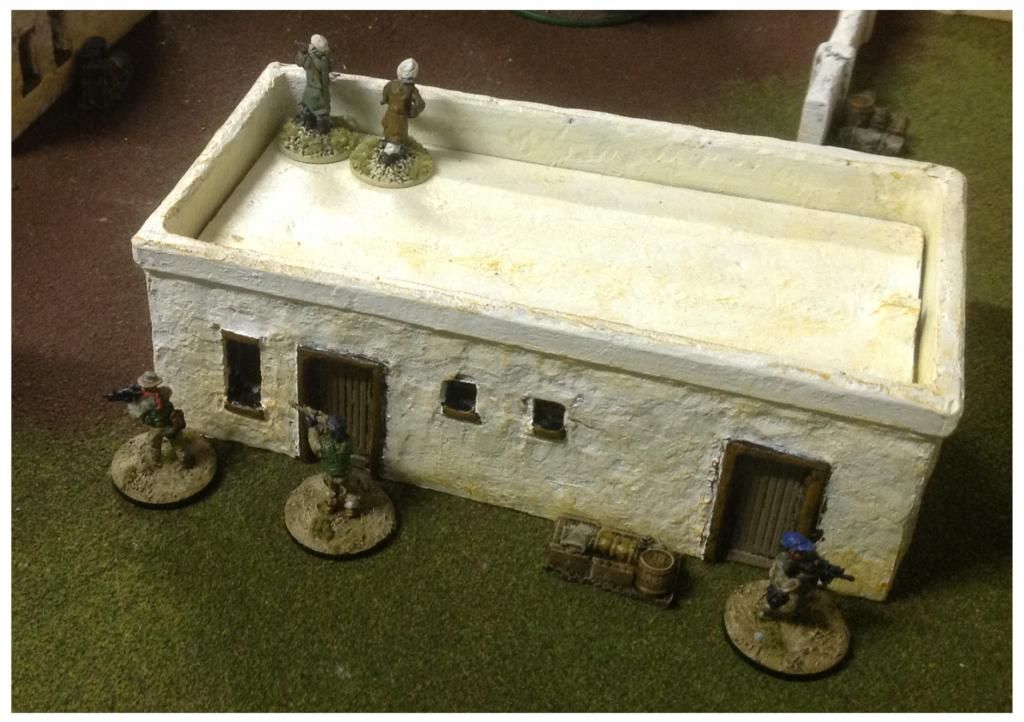
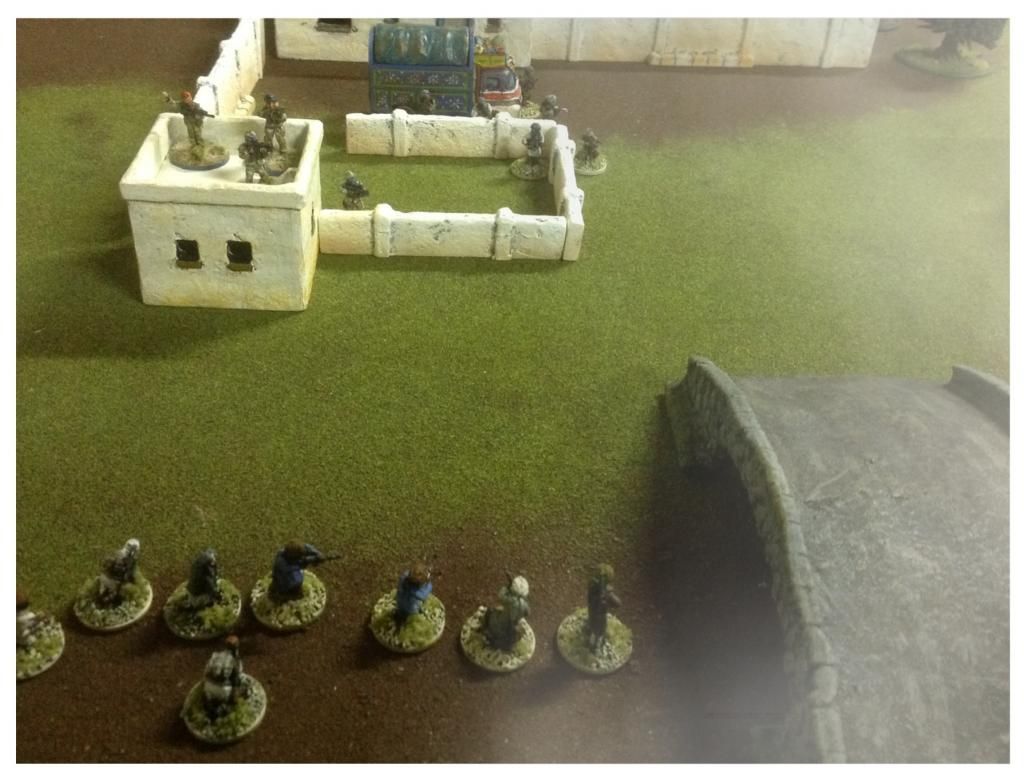
Bull and his Bravo team kept an eye out on the bridge, using the village buildings as cover. They were supported by some eager guerrilla fighters by the jingle truck. The JTAC was in Bravo Team and as a secondary mission was to organise an air strike in the far distance (off board) to dissuade a growing number of Taliban forces from reaching them.
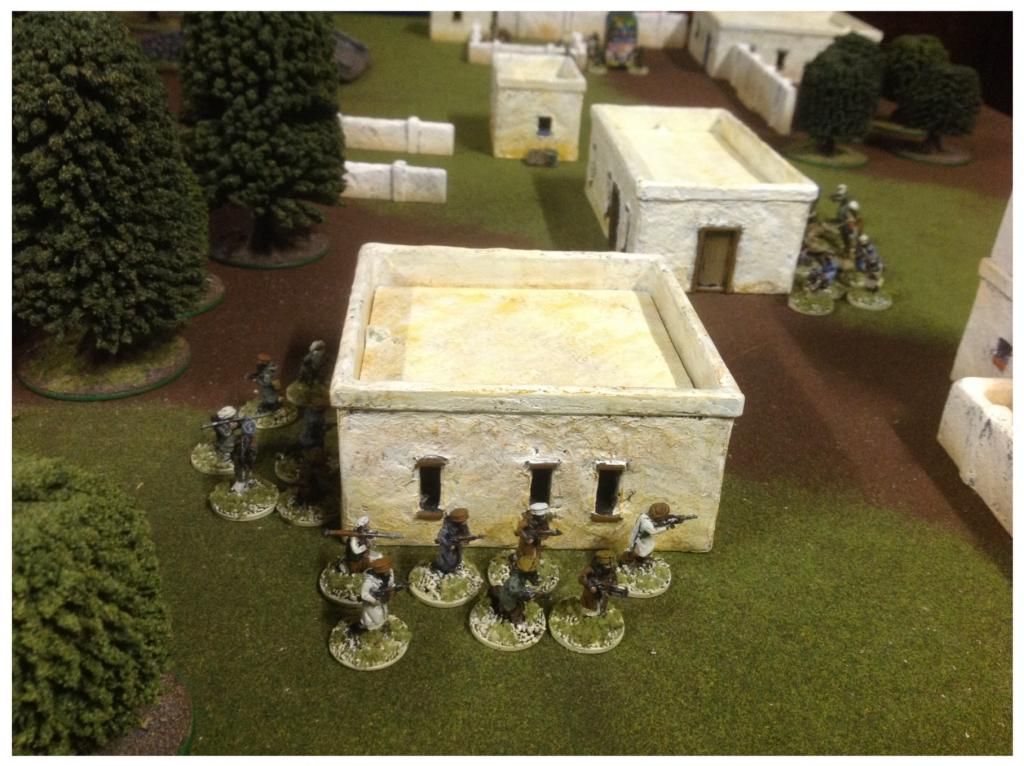
In the village proper, Ginger Megs and his two other team mates formed Alpha, supported by more guerrillas, including a PKM team. Alpha would deploy and set up fire sectors down the two streets.
TURN 1:
5 cells of Taliban of various strength started on their battlefield and had the initiative. Majority of the cells used Out of Contact* rules to quickly move into position on the left flank Alpha was guarding. A single but large cell moved to engage Bravo near the bridge.
Alpha and their Eastern Alliance spread out and took cover in the nearby buildings.
Bravo took some pot shots at the approaching Taliban but cause little damage.
TURN 2:
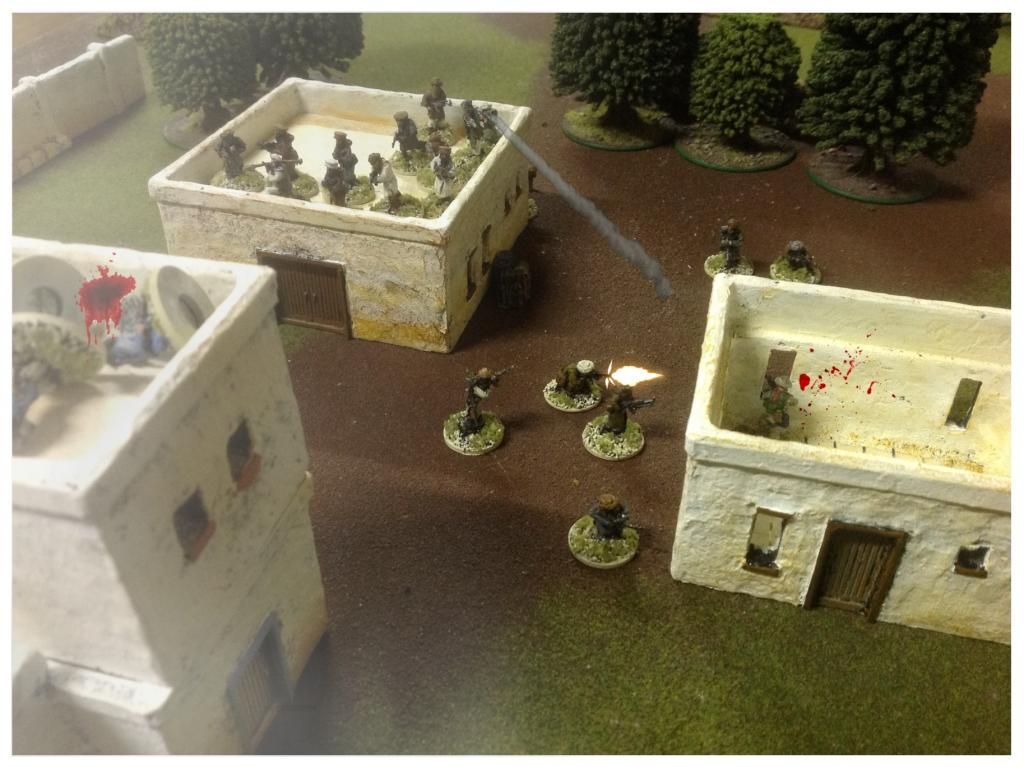
Taliban held initiative and their assault began in earnest. The amount of firepower thrown at the Eastern Alliance was significant and the PKM team was quickly dispatched and the other team took heavy casualties. Alpha returned little fire in fear of a close combat assault which was not to eventuate just yet.
The fight for the bridge was mostly uneventful. Bravo caused some minor casualties whilst the Eastern Alliance on the right failed to do hit anything.
Substantial Taliban reinforcements arrived to support the attack on the bridge.
TURN 3:
Taliban again held initiative, further hampering ODA's ability to prove overwatch.
On the left flank, with the EA all but gone, the Taliban turned up the heat on Team Alpha. Ginger and his teams failed to cause many casualties but in return the sniper was killed and Megs himself was seriously wounded, despite Advanced First Aid training.
On the right flank, Taliban engaged the EA but all in all not much happened.
Meanwhile Bravo wad engaged by the single cell but opted to use the JTAC to call in an air strike off board.
A trickle of reinforcements arrived for the Taliban but were barely needed.
TURN 4:
Taliban continued to hold initiative.
Things were going from bad to worse for Alpha. The remaining EA on their side were either killed or captured. Whilst two cells provided covering fire, the other two would try to assault Alpha's position. However the covering fire caused the lone ODA to hit the dust but the two Taliban assaults failed to gather enough courage**.
Fortunately, the air strike called by ODA was successful and their secondary objective was complete - now they just had to hold off over thirty Taliban.
The Taliban on the right flank kept the pressure on Bravo and the remaining EA. Another ODA fell with a serious injury - it looked like the Advanced First Aid instructor for these guys didn't have a clue. However the JTAC called in an air strike, ETA turn five.
A Taliban sniper team arrived to cause further grief.
TURN 5:
Taliban severely outnumbered the ODA and of course held initiative.
The injured survivor of Team Alpha somehow got to his feet. He fought bravely surrounded by Taliban but was ultimately killed.
Some of the cells on the left flank turned their attention on the bridge. Surprisingly, the sniper team was taken down by the EA.
The closest cell rushed by Bravo's position and started gunning down the remaining EA point blank. Bravo attempted to dislodge the cell from their positions by engaging in close combat but two of their number fell to the defensive fire. Bull continued his charge and fought bravely until he was captured.

TURN 6:
Initiative didn't really matter anymore but yes, the Taliban held it!
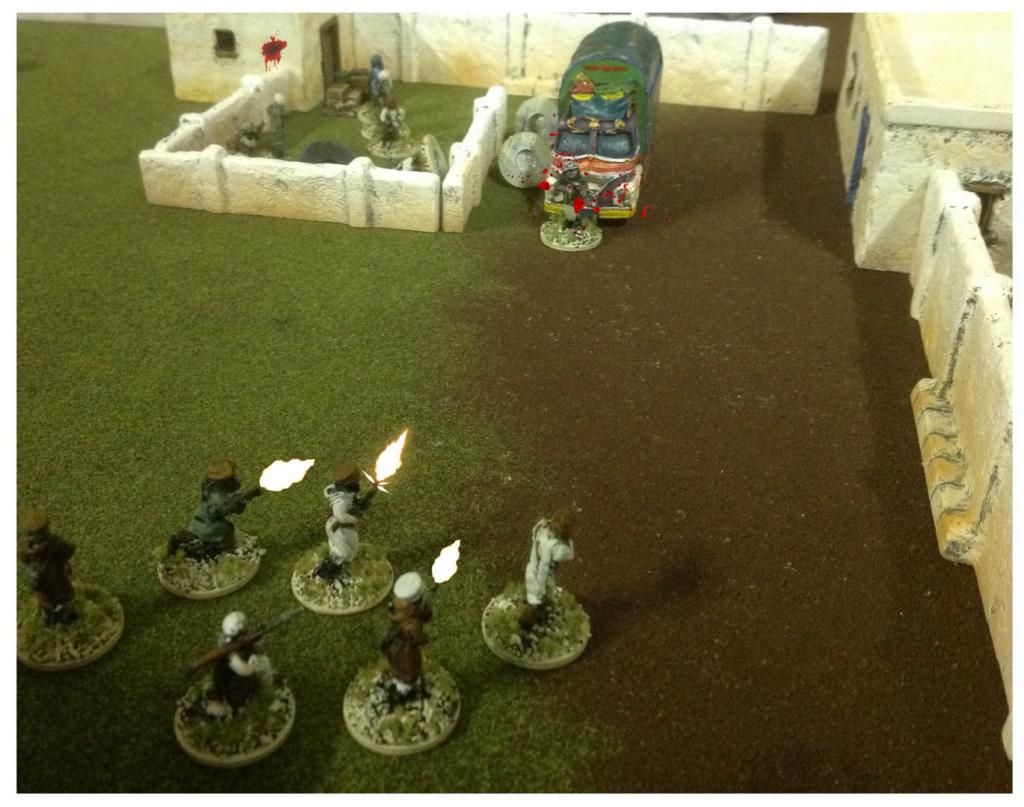
All that remained active was a single Eastern Alliance gunman by the jingle truck. A flanking cell poured their fire into him, splattering the jingle truck with blood and gore.
The air strike peppered the Taliban and caused some casualties but they cared little, screaming their victory in guttural exclamation.
CAILUS - END THOUGHTS
Damn, the Special Forces must have been "special" indeed!
Absolute victory by the Taliban with no actual cells being a hundred percent destroyed, except for the pitiful two man sniper team. Meanwhile ODA or EA had not a single person standing.
I didn't expect much from the EA apart from drawing fire but the ones on the left flank died very quickly. Their sacrifice was in vain as the ODA couldn't take advantage of this any way.
A mix of bad luck, never winning initiative (so no overwatch), not splitting teams and reluctance to fire caused the defeat.
LIVE (OR DIE) AND YOU LEARN
*Early on commented to Dead1 that the use of Out of Contact movement seemed a bit too much in this mission. His units crossed right over in the left flank, far past one of the objectives I was to defend. My guys would need to clear 4 cells in the village plus any reinforcement by the river!
Dead1 the next day found that this rule can only be used if the Taliban do NOT hold initiative. They had it the entire game so really their approach would have been significantly slower.
**I later found that if an entire unit is down, there is no need for an opposing unit to pass a TQ test to assault. They simply walk over and capture them!
We also forgot about a few other rules such as ambush and the like.
So what we decided is for a rematch next month. Let's hope the Spec Ops do something for a change!
Thanks for reading!
Looks like a cool game.
ReplyDeleteAny chance of having a follow button on your blog?- I want to support a fellow Tasmanian gamer :-)
Thanks Jacksarge. Follow up via email now included at the bottom!
ReplyDeleteCheers.
Used Bridge saw is the different parts of the Saw which are very smooth and can give the desired results as the brand new stone cutting machines gives when a block of hard natured stone called Granite bridge saw which is put under the used stone cutting machines and the product that comes out is no different given by a new machine, we also leads in same business Profile like Bridge saw for sale bridge saw granite in califoria through out USA.
ReplyDelete